Showing posts sorted by relevance for query sleeve cap. Sort by date Show all posts

Friday, October 30, 2015

Burda 12/2009 #121 Henley–Fall Sewing


I’m doing a terrible job this year in the Burda Sewing challenge.  Don’t get me wrong, I love tons of Burda patterns, and I have a ton of magazines; it is just that I seem to reach for other things first and Burda gets put on the back burner.  However, I put this Henley on my Fall Sewing List and am happy I was able to push myself to sew it up. 

henley line drawing

The problem I have with Burda patterns is that the shoulder area does not fit my body right.  They have super high sleeve caps and this never looks right on me.  When I traced this Henley, it was no different.  I knew I should have altered the sleeve cap right then and there but I was too excited lazy and wanted to get to sewing it up. However, After I attached the sleeves and tried the top on before hemming, I knew I would have to unpick all my serging and lower that sleeve cap.  I ended up bringing it down about an inch.  I used Joy’s method (21wale) and it worked great.

Here we have the “before” pic with the terrible sleeve cap and looseness allover
henley bad combine

 I sewed a size 42 in Shoulder/Bust/Waist to a 44 at the hip.  I added a 1/2” square shoulder adjustment like I always do as well as a 1/2” sway back adjustment. 

henley6

My fabric is a super drapey, soft rayon jersey.  When I first tried it on, it was big all over, like super big.  I ended up taking in 1/2” at each side seam for a total of 2” from bust to hip.  It is comfortably loose now, not overly loose.  I had to shorten the shirt 1.5 inches on the bottom and sleeve hems – they were so long!

henley1

I used the placket instructions from Jalie 2562.  I was super careful to line up those stripes! I made the inside placket all gray.  I also used 5 “smoke” colored snaps from SnapSource.  I like how they go well with both the navy stripe and the gray stripe.  My shoulders have stay tape to prevent stretching (because I despise how clear elastic feels, it is itchy!). 

henley2

Fabric: 2 yards of Navy Gray Stripe Rayon Jersey Knit.  I picked it up May of 2015 from FabricMart for $4.80 total.  Open-mouthed smile  The snaps cost $1.65 for the 5.  Total for the shirt: $6.45!  I have about a Fat Half of this fabric left and it is so soft and luscious.  I may be able to make Miss K something from it.

henley3

Another Fall Sewing item checked off the list

henley4

Now on to the next!

henley5

Brrr.  It's pretty chilly and windy out today.  Sadly my pictures will have to move indoors again.

EDIT: May 21. 2019.  Ok, so I love love love this top but in the 4 years since I've made it I rarely wear it.  Why? Well because the sleeves are huge at the wrist and it bothers me.  Every time I move my arm my sleeve slides up to my elbow and that is frustrating. I've had this beloved top in the "to fix" pile for probably 3 years.  Well today I finally fixed it.  I ripped out that cover-stitching at the sleeve hem and took of TWO full inches (one on each side) tapering to nothing at the elbow.  Then I repressed and rehemmed.  Now I hope to wear it often.

Friday, June 19, 2020

Miss Ruby Tuesday Dress– 1 Puddle Lane

A ton of people have made this dress and every time I saw it I wanted it!  There are quite a bit of options that come with the pattern too!

1puddle5

Date Started: 03/23/20 Date Finished: 04/14/20

1puddle 1

My Measurements at the time: 39 bust, 33 waist, 45 hip

1puddle2

Size Sewn: Large at bust/waist and 2x at hip

Version: Short sleeve bodice with scoop neck (Style B) – 1/2 circle skirt option.  My one and only complaint with this pattern is that it doesn’t give you a HIP measurement – only bust and waist. For someone that is pear shaped that is a huge problem.  I can’t pick my bust/waist measurement and just go with it; my hips are much bigger.  So I just picked a size 2x and went with it because in most other patterns I am usually 2 hip sizes larger than my waist.  Luckily, it worked well.  But come on! Put a hip measurement in the pattern!

1puddle3

Alterations: OK I may have one more complaint with the pattern.  The sleeves on these measured SO insanely small and tight. I made a size L bodice but after measuring the sleeve I knew I needed a much larger size.  I ended up using a size 2X for the sleeve and even then I had to add an additional 1/4” to the sides of the sleeves.  I also lowered the sleeve cap by 5/8” – I do not like a tall sleeve cap because it feels restrictive and fits weird on me.  I talk a lot about high sleeve caps on my old blog, usually with Burda patterns.  I show a great picture on why I adjust this and the before and after difference it makes on this Henley tee post. Anyway, back to the dress.

  1puddle4 

Fabric: Amazing fabric. It was love at first sight. It is a Double Brushed Poly Jersey Knit Floral Navy/Red Fabric; fiber content is 96% Polyester/4% Lycra Spandex.  I purchased it August 2019 from Amazon/fabric.com for $6.38/yard.  I used 2 yards for this dress for a total of $12.76

  1puddle6

Thoughts:  I love it! I love the dress, the fabric, the fit, all of it!! This is the perfect dress for me. I can’t wait to make up a bunch of the different options in the pattern.  Bonus is that it feels like secret pajamas when I'm wearing it.

1puddle 

This dress was in my sewing plans for Fall/Winter 2019.  I may have sewn it up just a little past winter but that’s ok (I also planned on using a different pattern for this fabric but I’m glad I changed my mind and went with the Miss Ruby Tuesday). I had originally planned on wearing this dress with my Helen’s Closet Blackwood cardigan but I think the cardigan is too heavy for this dress.

  1puddle7 

I’ll have to pair the cardigan with something else. I like the dress on its own.

Thanks for reading!

Kristin

Friday, June 8, 2018

Spring SWAP Dresses ~ New Look 6301 & Ottobre 02/17 #11


New Look 6301 Wrap Dress, View B
6301line

Size: Bodice size 12, hip size 14. This is 1 size down in bust and almost 3 sizes down in hip.  I read comments that the dress was large so I sized down and actually did a tissue fitting! 

redwrap2

Alterations: The tissue fitting showed me many areas to fix before cutting into my fabric. 
  • I took 1/2” tuck from neckline at the collarbone because of gaping there. 
  • I graded the bottom of the sleeve from a 12 to a 14 to accommodate my larger biceps. 
  • The sleeve cap had a whooping 2.5” of ease… in a knit!! My pet peeve.  So I dropped the tall, narrow cap down about an inch – this gave me 1.25” in ease and also made it wider on top – this fits me much better at the shoulder than those tall sleeve caps.
  • 1/2” swayback
  • 1/2” forward shoulder adjustment
  • 1/4” out of CB at neckline to 1/2” out at center back, then to 0” at bottom of bodice.  The pattern has an outward curve in the mid back which was completely opposite of what I needed.  This alteration straightened out the back and solved that issue. 
  • I cut the ties at the size 20 since many people complained how short they were.
  • Skirt pieces 7 & 8 are the exact same so I just cut 2 of #7.
  • I cut two of the front R pieces (#1) and didn’t bother with the front L piece.

redwrap3

Instructions: The instructions were ok. They explained what I needed to do and I had no issues with them.  I did sew my dress up a bit different in order – easier in my mind.  Pleated fronts, sewed to back at shoulder.  Added front binding, sewed in ties to back. Then sewed sleeves in flat, and sewed up sides.  I sewed skirts together and then sewed skirt to bodice in the round. It went together fairly quickly.

redwrap4

Fabric: Pattern calls for 2.5 yards fabric for my size.  I somehow made this with only 1.5 yards.  This fabric was from the Fabric Mart precut sale.  I purchased it in Sept 2017 for $3.05 a yard; total $4.58 for this dress.  It is listed as 92% Rayon/8% Lycra blend with 4 way stretch.  The fabric is heavier than most rayon/lycra I own and so so soft.  This fabric cut, sewed, and pressed like a dream.

redwrap1

Thoughts: I really love this dress!  I was hoping it would work out since the fabric is super soft.  I love the color, the drape, the look.  I do find that the dress grows a little during the day and that the heavier fabric doesn’t have as much recovery as I would like.  But, those are minor things.  If I make the dress again (I already have plans for the tank view) then I want to take another whole inch out of the center back at the neckline – it is still a bit wide in back.  I would also shorten the front bindings and make the front cross over tighter – but this may just be the fabric’s problem with the growing/recovery issue. 

20180525_101714

I think it’s a fantastic “fake” wrap dress pattern.  I would recommend it to anyone!


Ottobre 02/2017 #11 – Tee Shirt Dress
otto 217 11
Size: 42 for bust/waist to 46 at hip. Also made the sleeve 42 at the cap out to 44 at the hem (to gain some width at the bicep).

bluecross3

Alterations:
  • 1/2” forward shoulder adjustment
bluecross1

Instructions: This is a simple T-shirt dress.  I sewed it up without looking at the instructions.  I sewed one shoulder, added neck binding, sewed other shoulder.  Then I sewed in the sleeves and added binding to the bottoms of them. After this I just sewed up the side seams and hemmed it.  It was super fast. 

bluecross2

Fabric: 1.75 yards - Bright Turquoise/White 100% Cotton, Plus Sign Design, Interlock Knit – 60W; purchased Sept 2017 for $5.60 total also from Fabric Mart’s precut sale. 

bluecross4

Thoughts: I made this for a nightgown, I love it for that purpose.  A few days in MeMadeMay I just wore the dress all day.  It is soft and comfortable, easy to throw on and go.  The interlock is thicker and less stretchy than most knits but it works well in this dress. I have no complaints!

Here’s an updated look at how my Spring/Summer Sewing Plan is going:

SWAP Spring 2018 updated

Wednesday, July 24, 2013

Flower Tee ~ Jalie 2805 ~ Mastered!

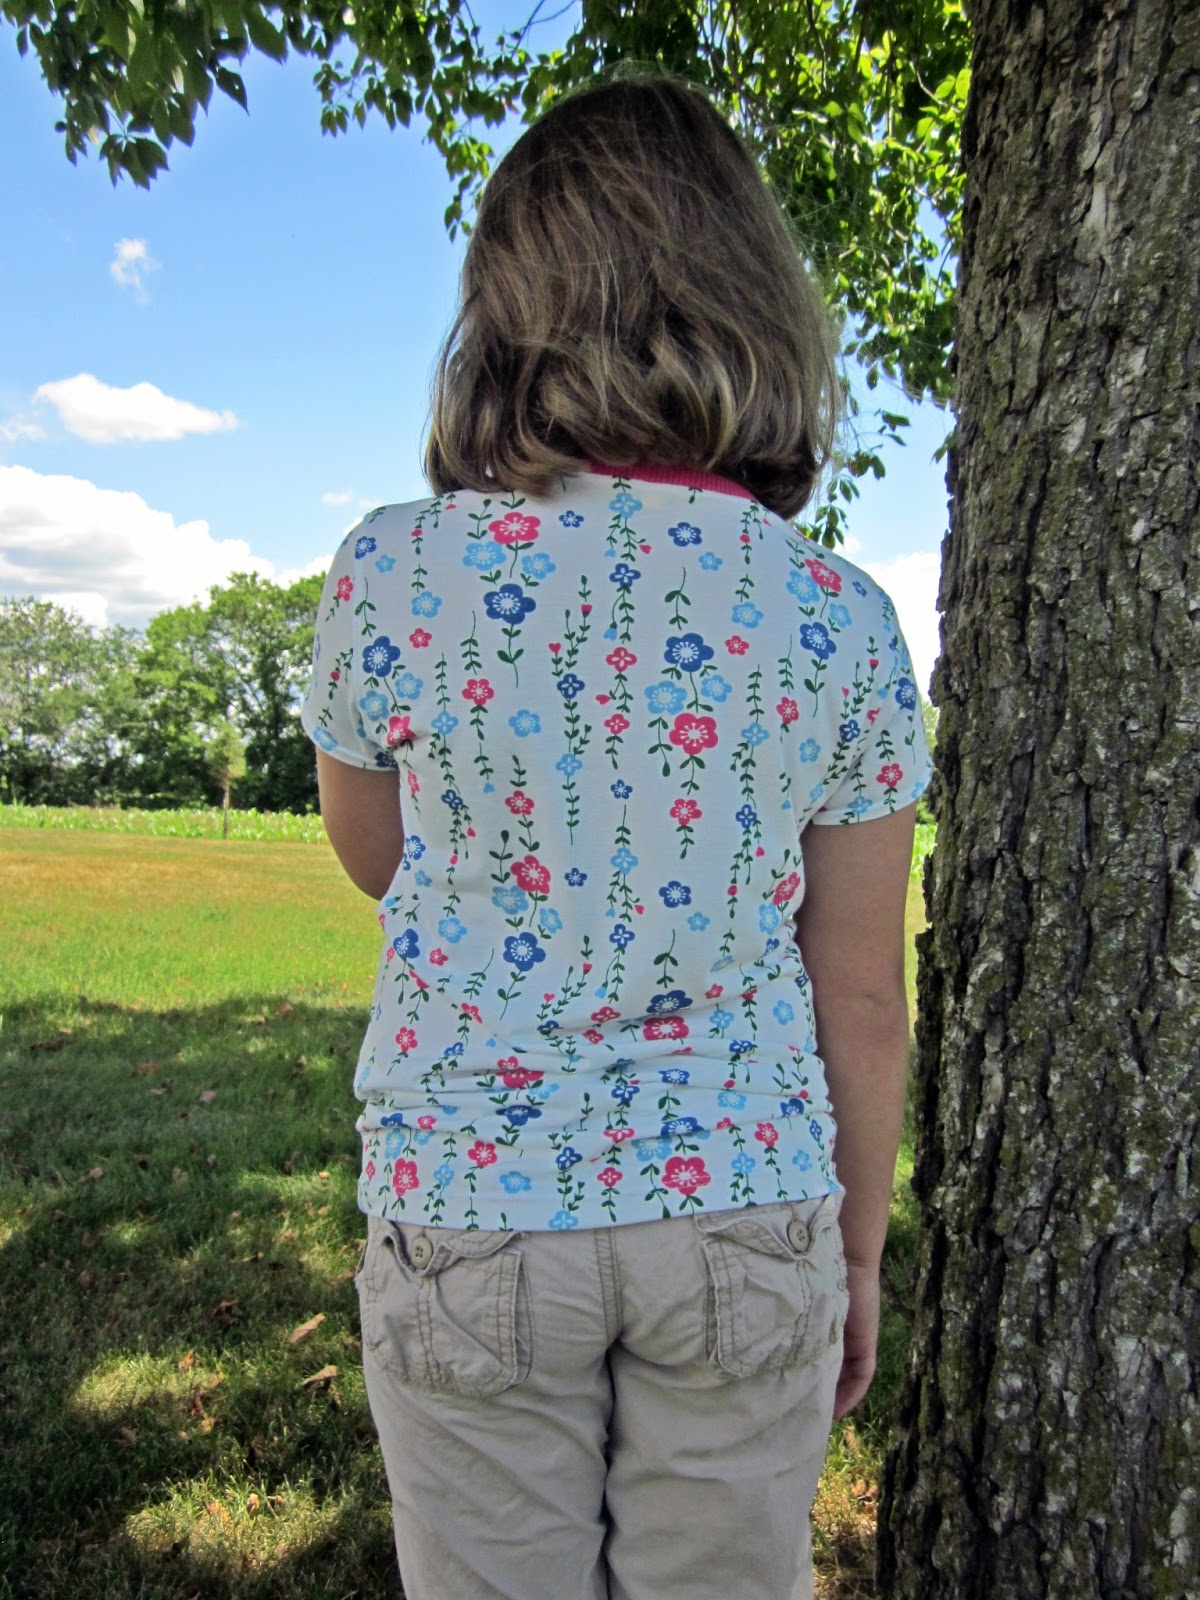
Monday I attempted Jalie 2805; a lovely t-shirt pattern with multiple options.  In a nutshell I went up one size for K from an L that she measured at to a M; It didn't fit so well. Today I tried again, this time bumping up four sizes from her measurements to an O which is a size 11US or 150cm.  This fits her much better.


I went with View A with cap sleeves. The instructions are wonderful on these patterns and I love that they include sizes from a girls 2 all the way up to a woman's 22 (US sizes).  This pattern also has a choice of 4 different sleeve lengths: cap, short, 3/4s, and long.  It also has 4 different necklines: Jewel neck, mock turtleneck, v-neck, and overlapped v-neck with buttons.  That is a lot of options!

Double needle on the bottom hem and sleeve hems. 

Sewed down seam allowances on neck and sleeve caps.  
Also added a strip of twill tape to shoulders to stabilize. 

She's very happy with it.  (Photo bombed by the pooch)


Nice long length.  Sleeve length is great too. 

Now that I've mastered the fit on Miss K I see many of these comfy tees in her future, which is perfect because she wears tees to school on most days.

I look forward to making some for myself too!

Fabric: used 1/2 yard of 58" wide Jersey Knit "Floral Fuchsia/Blue/White; Purchased for $2.97 way back on 06/01/2012 from fabric.com ($5.94/yard);
65% poly, 35% rayon blend. It is very soft and lightweight.  30% stretch. I have 1/2 yard left that I will use to master the underwear pattern Jalie 3242

~ Happy Sewing! ~ Kristin ~

Monday, August 5, 2013

My new favorite tee ~ Jalie 2805

I actually made something for myself! Can you believe it?  It seems I get sucked into making kids clothes more and more and less things for me.  I need to change that.


Wednesday K had dance "in town" which allowed T and I to meander around for an hour until she was done.  T just had to go to the fabric store.... LOL, kidding.  It is probably an 11 year old boy's least favorite store.  Anyway I conned him into going in with me.

I found a few cute knits on a table in the back for only $3.99/yard.  They had a truck bring them in I guess, leftovers from some warehouse.  T actually did pick out a really cute stripe and a very soft blue.  I picked out a gray/blue stripe but it ended up not being enough yardage for the maxi dress I wanted.  So I ended up with a yard of this amazing, soft, drapey, wild knit.


I love it to pieces! I'm not even sure why.  This is so not me and really wild when I usually wear plain. It is a mystery knit but I think it has some rayon in it.  It is super duper soft and has a bit of a sheen to it, just a bit.  I would say it has about 50% stretch to it.  I knew right away that I wanted to make Jalie 2805 with it.  The shirt only used 3/4 of the yard. Yay for a $3 shirt that I LOVE!

My measurements are 36-29-42 (yikes I put that on here).  This puts me in sizes U (8), T (7), and X (11). However, since the fit was super tight on K I went a bit larger with my size.  I ended up tracing out a V (9) for the top and waist and sloping out to a W (10) for the hips.


I went with View A, cap sleeve, normal neck.  I made the binding an inch shorter than the pattern stated because it was a bit loose with K's second shirt.  I actually sewed both shoulders and attached the neck binding in the round using this tutorial.  I used twill tape in shoulder seams to add strength.  Then I sewed both sleeves in and side seams.  I sewed a small zig-zag over the serging in the armpits to reinforce them.  I used a double needle for the bottom hem with wonder tape.  For the cap sleeve hem I used wonder tape and 1/4" fold once with a single needle sewn hem.


Changes I will make for next time:
* Size down to U(8) in bust as I measure, taper in on the waist to a size T (7) and then slope out to a W (10) for the hips.
* Slant out an inch of the back neckline like in this tutorial to remove the back neck gaping.
* Make cap sleeves 1/2" longer so I can fold them up 1/2" and use a double needle hem.


I absolutely love this shirt. It is very comfortable and I've been wearing it a lot since making it Friday.  The cap sleeves are just a tad too short for me and the back neck gapes a little; however, most my RTW shirts gape in the back neck. The shirt is loose on me especially under the bust and through the waist but it is nice to have a loose shirt - not all of mine have to be slim fitting.  I should probably address the swayback issue and pooling in the back because of it but I just don't mind it.  Even with these things I love it, love it, love it!  I can't wait to make some more as well as some in the different variations!

~ Happy Sewing! ~ Kristin ~

Monday, January 5, 2015

Burda 10/2014 #103 Envelope Top

While perusing the internet one day I stumbled upon this amazing Burda dress over at Frogs in a Bucket and knew I had to make one similar!  I have the issue, I even earmarked the top to make at a future time.  The best part is that I had just picked up some Ponte at Hancock's on sale that would work perfect.  The stars were in alignment!

Being the practical person I am, I wanted to try the top out and work out fit issues before moving on to the dress version.  I've lost some weight and my previous alterations just weren't working as before.

Burda 10/2014 #103


For my muslin I traced out a 38 shoulders/bust, 40 waist, and 42 hip from a super soft, brushed rib knit fabric.  This top has the envelope-look at the neck (which I love) so I didn't know how to approach a square shoulder adjustment. I just left them alone.
Alterations:
* added 1" to hip at back only for my large rear
* took 3" off sleeves (knew they were long going in and didn't want them that way)

When I put on my muslin the neckline was big on me. Too big.  The top looked all weird. Plus there was bagginess under my arms and through the bust.  I took in a TWO inch dart on the back neck and then 1/2" off the sides from armpit to waist. Tried it on again and it was much better. The sleeves are still too long and I'm not sure I like the length of the shirt.

The bad neckline. The bagginess everywhere. 

Now every review states how easy this top is to sew. So I began to think "what is wrong with me" when I just could not get the neck/shoulder stitching right. My brain refused to understand what Burda wanted.  "Lay back R sides together with front. Stitch upper edge of back along joining lines on front from each marking to seam #1"  From each marking? so do I stitch the triangle across the shoulder part even?  I thought the envelope front meant you didn't stitch the actual top shoulder. Sigh. Much frustration, seam ripping, flipping of material.  Whatever - I just did it my way. I put R side front to R side back and stitched across the triangle part where it shows on the front piece there.  Then I basted the armhole area. Done.
much better

Then we come to the neck "facing". Woah. So you sew this bias strip to the neckline but only to the marks. Then you flip it to the inside and it stops just before the front piece connects.  Well it's supposed to anyway.  Mine was a tad short so I suggest to leave extra on neck facing until you stitch it down all the way, then clip it, it can go under the front flap.


Clearly the rest of the shirt is easy peasy once you get past the neckline.  I did put the sleeves on in the flat - I don't enjoy setting in a sleeve. Also, what is up with Burda putting in 3" of ease in a knit sleeve?? THREE inches? WTH.


Fabric: Designer Brushed Baby Rib Knit Flowers Smoke, 65% poly, 35% cotton, Purchased Feb 2014 from fabric.com for $4.89/yard. Used 2 yards. Total: $9.78

Top #2
I transferred all the changes to the pattern and set off again. This time with a cotton lycra fabric.
Alterations this time:
*kept 1" added to hip at back for large rear
*took an additional 3/4" off sleeves for a total of 3.75"
*took 2" dart off back neck, sloped to nothing at hem
*tapered 1/2" off armpit to waist
*reduced sleeve cap by 3/4" for a length of 17.5" instead of 19"

This time I sewed the neck with exposed bias and sewed the back crossover to the front as visible.  I like this look. Reminds me of the Bronte Top.


Fabric: Heather Grey Jersey Knit, 95% cotton, 5% lycra, 9.5oz/yard.  2.25 yards purchased August 2014 at $5.50/yard from fashion fabrics club. $11.00 (did not use all the 2.25 yards though). The bias strip is a scrap from Laguna Stretch Cotton Jersey Heathered Knit Pepper, Robert Kaufman.


I was all excited and tried it on. Too tight. UGH, what the heck!  Well, this fabric was considerably more stable and less stretch than the rib knit, I should have known better.  The saddest part is that I am in love with this version.
Hmm. Well....

Ugh. Too tight. 

In all fairness the pattern says to use a "fine stretch jersey".  The cowl draped way better on the rib knit, it tries to stand up on the jersey version. I'll have to think about this before I head into making the dress version.

** Thanks to Levone who pointed out to me that BurdaStyle offers a video "how to" of making this top, but in the dress version! You have to pay for the video $7.99, but it might be better to invest in a one month subscription to the videos with Burda for $19.99. **

~ Happy Sewing! ~ Kristin ~